
One of the hardest things about making healthy changes to your diet is coming up with good ideas of things to eat. It seems like once you decide to start eating “healthy”, you feel like you can’t eat anything anymore! The best place to start is to healthify some of your favourite foods. This will allow you to still enjoy the foods that you love, without feeling like you’re depriving yourself.
In general, people find it’s easier to plan healthy main meals. Where we tend to struggle is figuring out quick and healthy snack ideas; things that can be grabbed from the fridge or cupboard, packed in lunches, and used to tie us over between meals when we’re out on the go. For a person who’s eating a Standard American Diet, these are typically the processed food items that would be found in the interior aisles of a grocery store – rice cakes, crackers, chips, granola bars, etc. Sure, manufacturers will offer you their “healthy” versions of these items that we can opt for in a pinch. However, if you have even just a little bit of time, I highly recommend making that extra effort and preparing these things yourself.
“But I’m so busy!” “I don’t have the time!” I’ve heard these excuses, and hell, I’ve used them myself. What it really comes down to is your priorities. I get it, there will definitely be weeks when life gets the best of us and we really don’t have a minute to spare, but during the regular weeks, I highly recommend setting some time aside and preparing one or two grab-and-go items that can be kept in the fridge for quick and easy snacks. It’s like investing a bit of time upfront, for a big pay-off of more free-time, and less stress later in the week!
OK, so we know – 1. Healthify our favourites, 2. Set some time aside and make enough healthy snacks for the week. Next question – what the heck do we make and where do we start? I’d like to dedicate the next few posts to providing easy, healthy snack recipes that you can use in your kitchen. Some things I have in mind: cauliflower hummus, n’oatmeal, chia pudding, collard green wraps and veggie muffins. To get things started though, I’d like to share with you my grain free granola bars. I’ll do a round-up of all the snack ideas in a few weeks for you to easily reference and bookmark, to make things even easier for you!
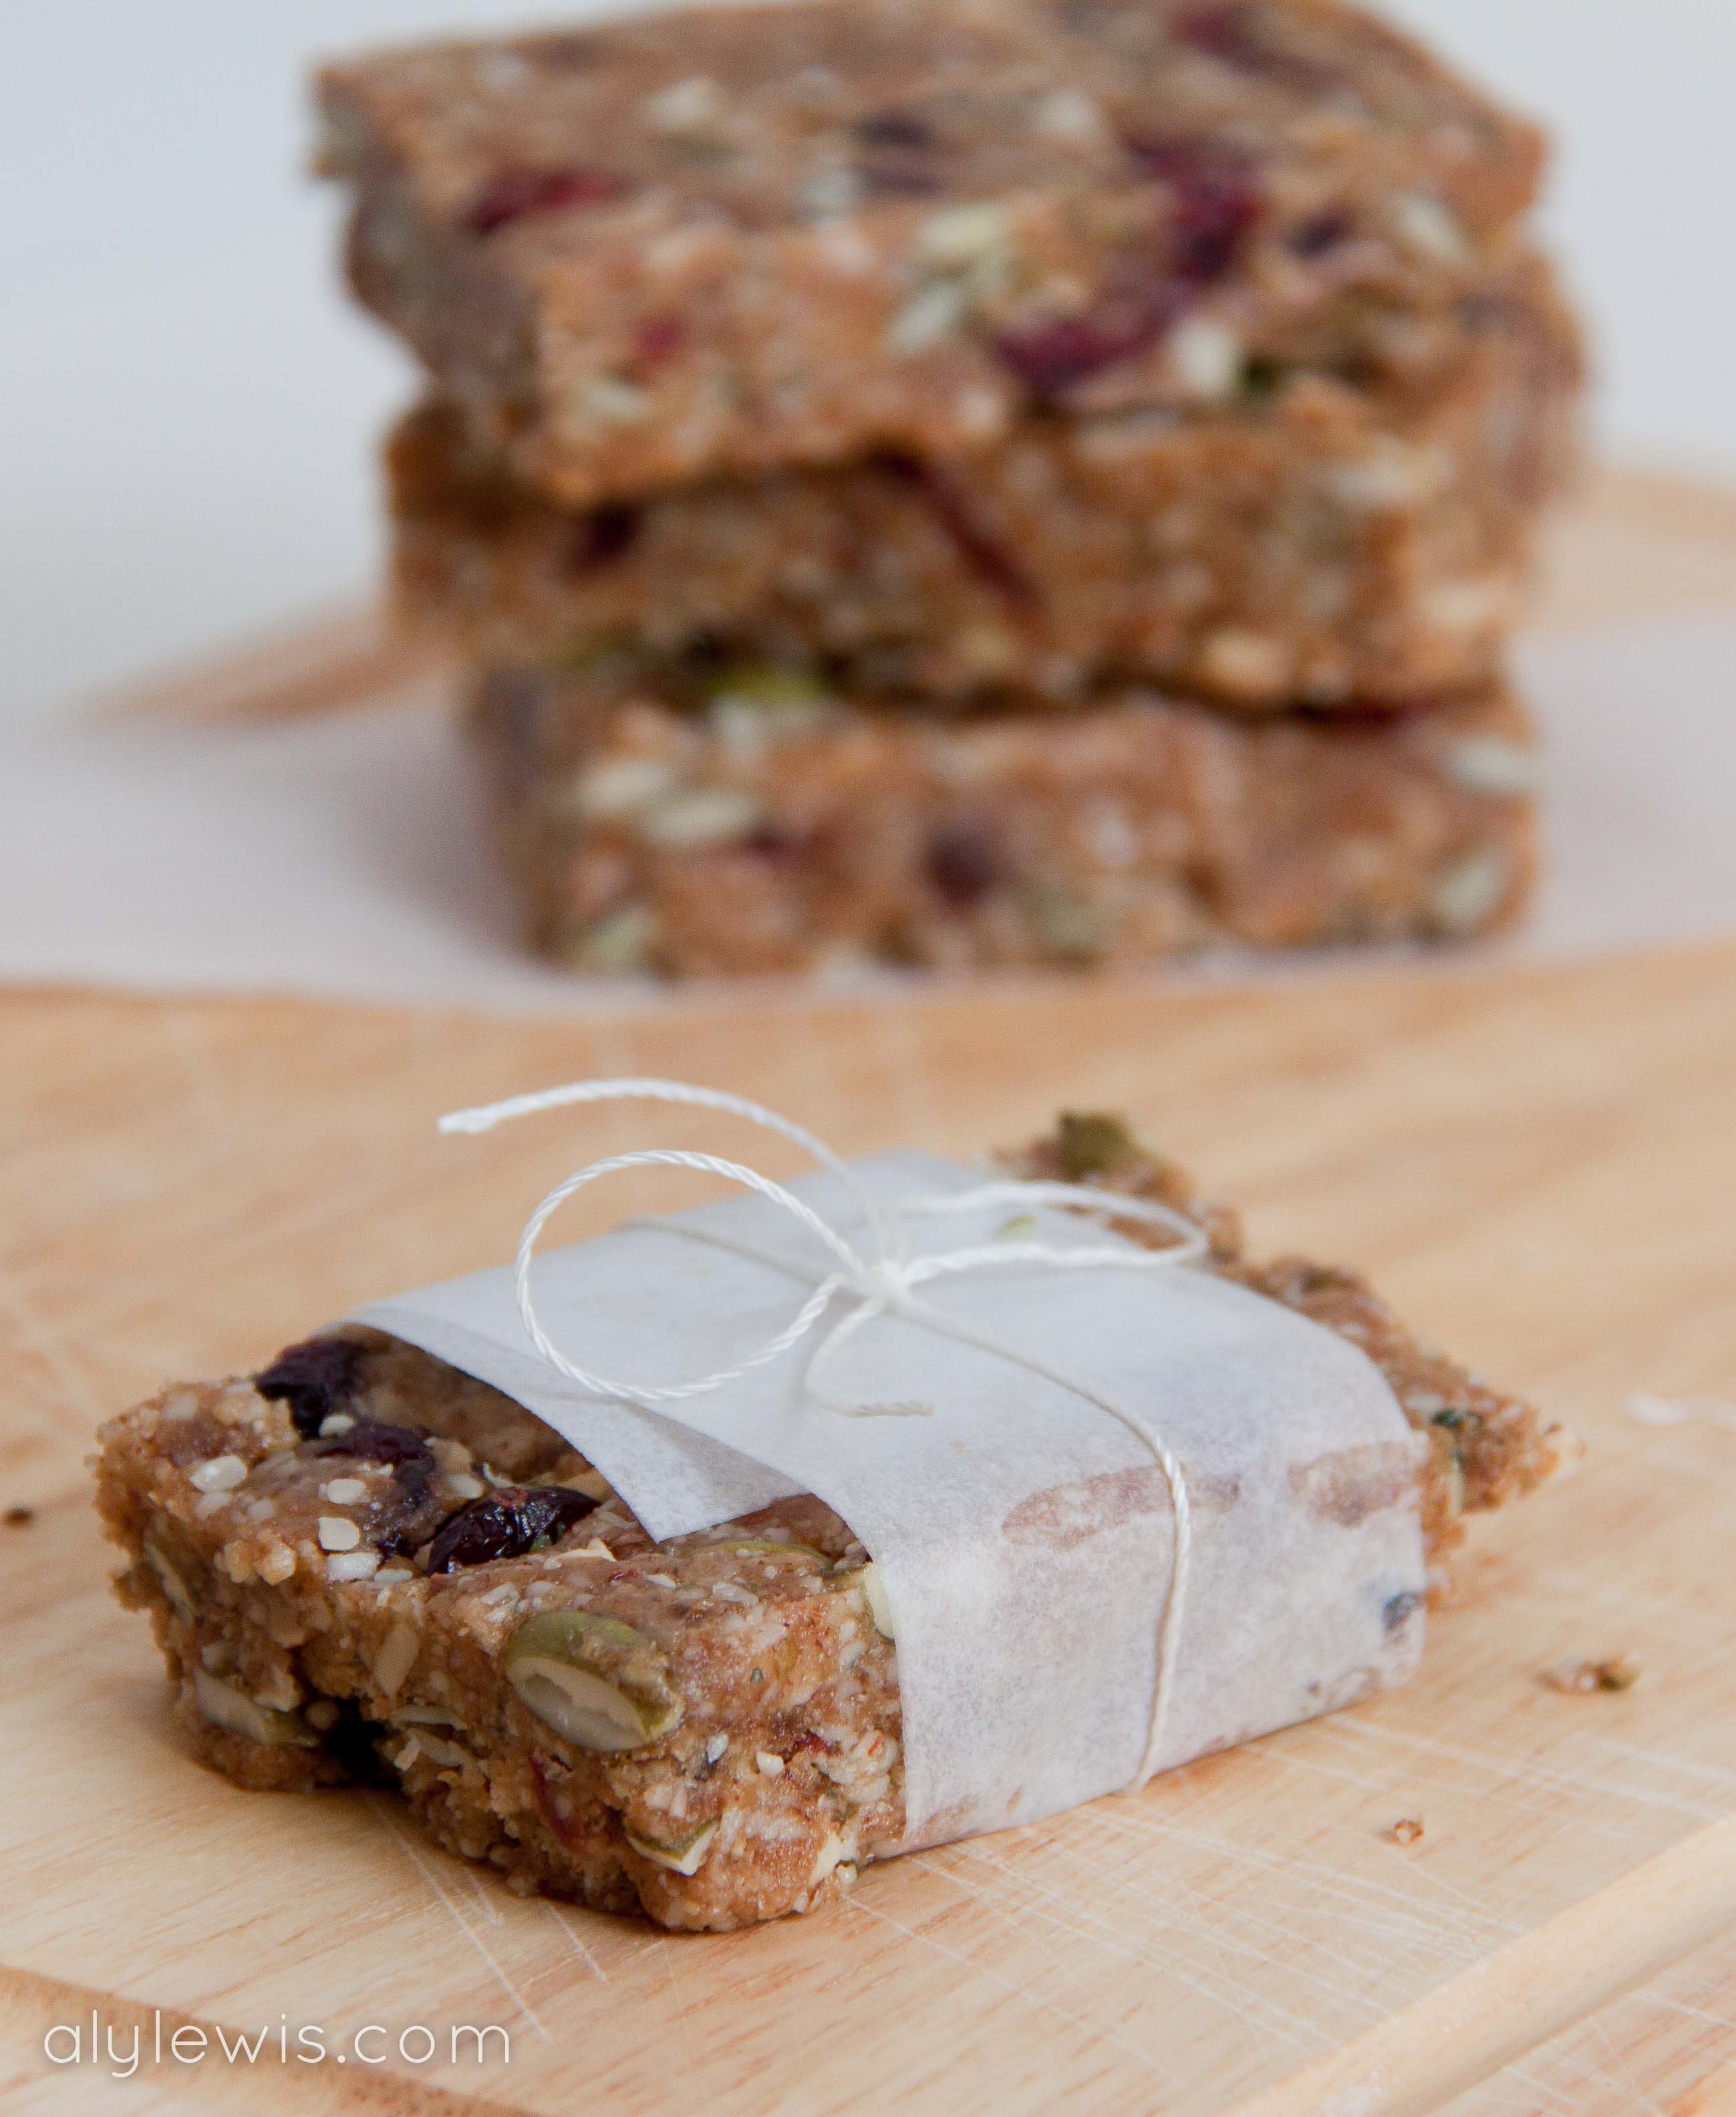
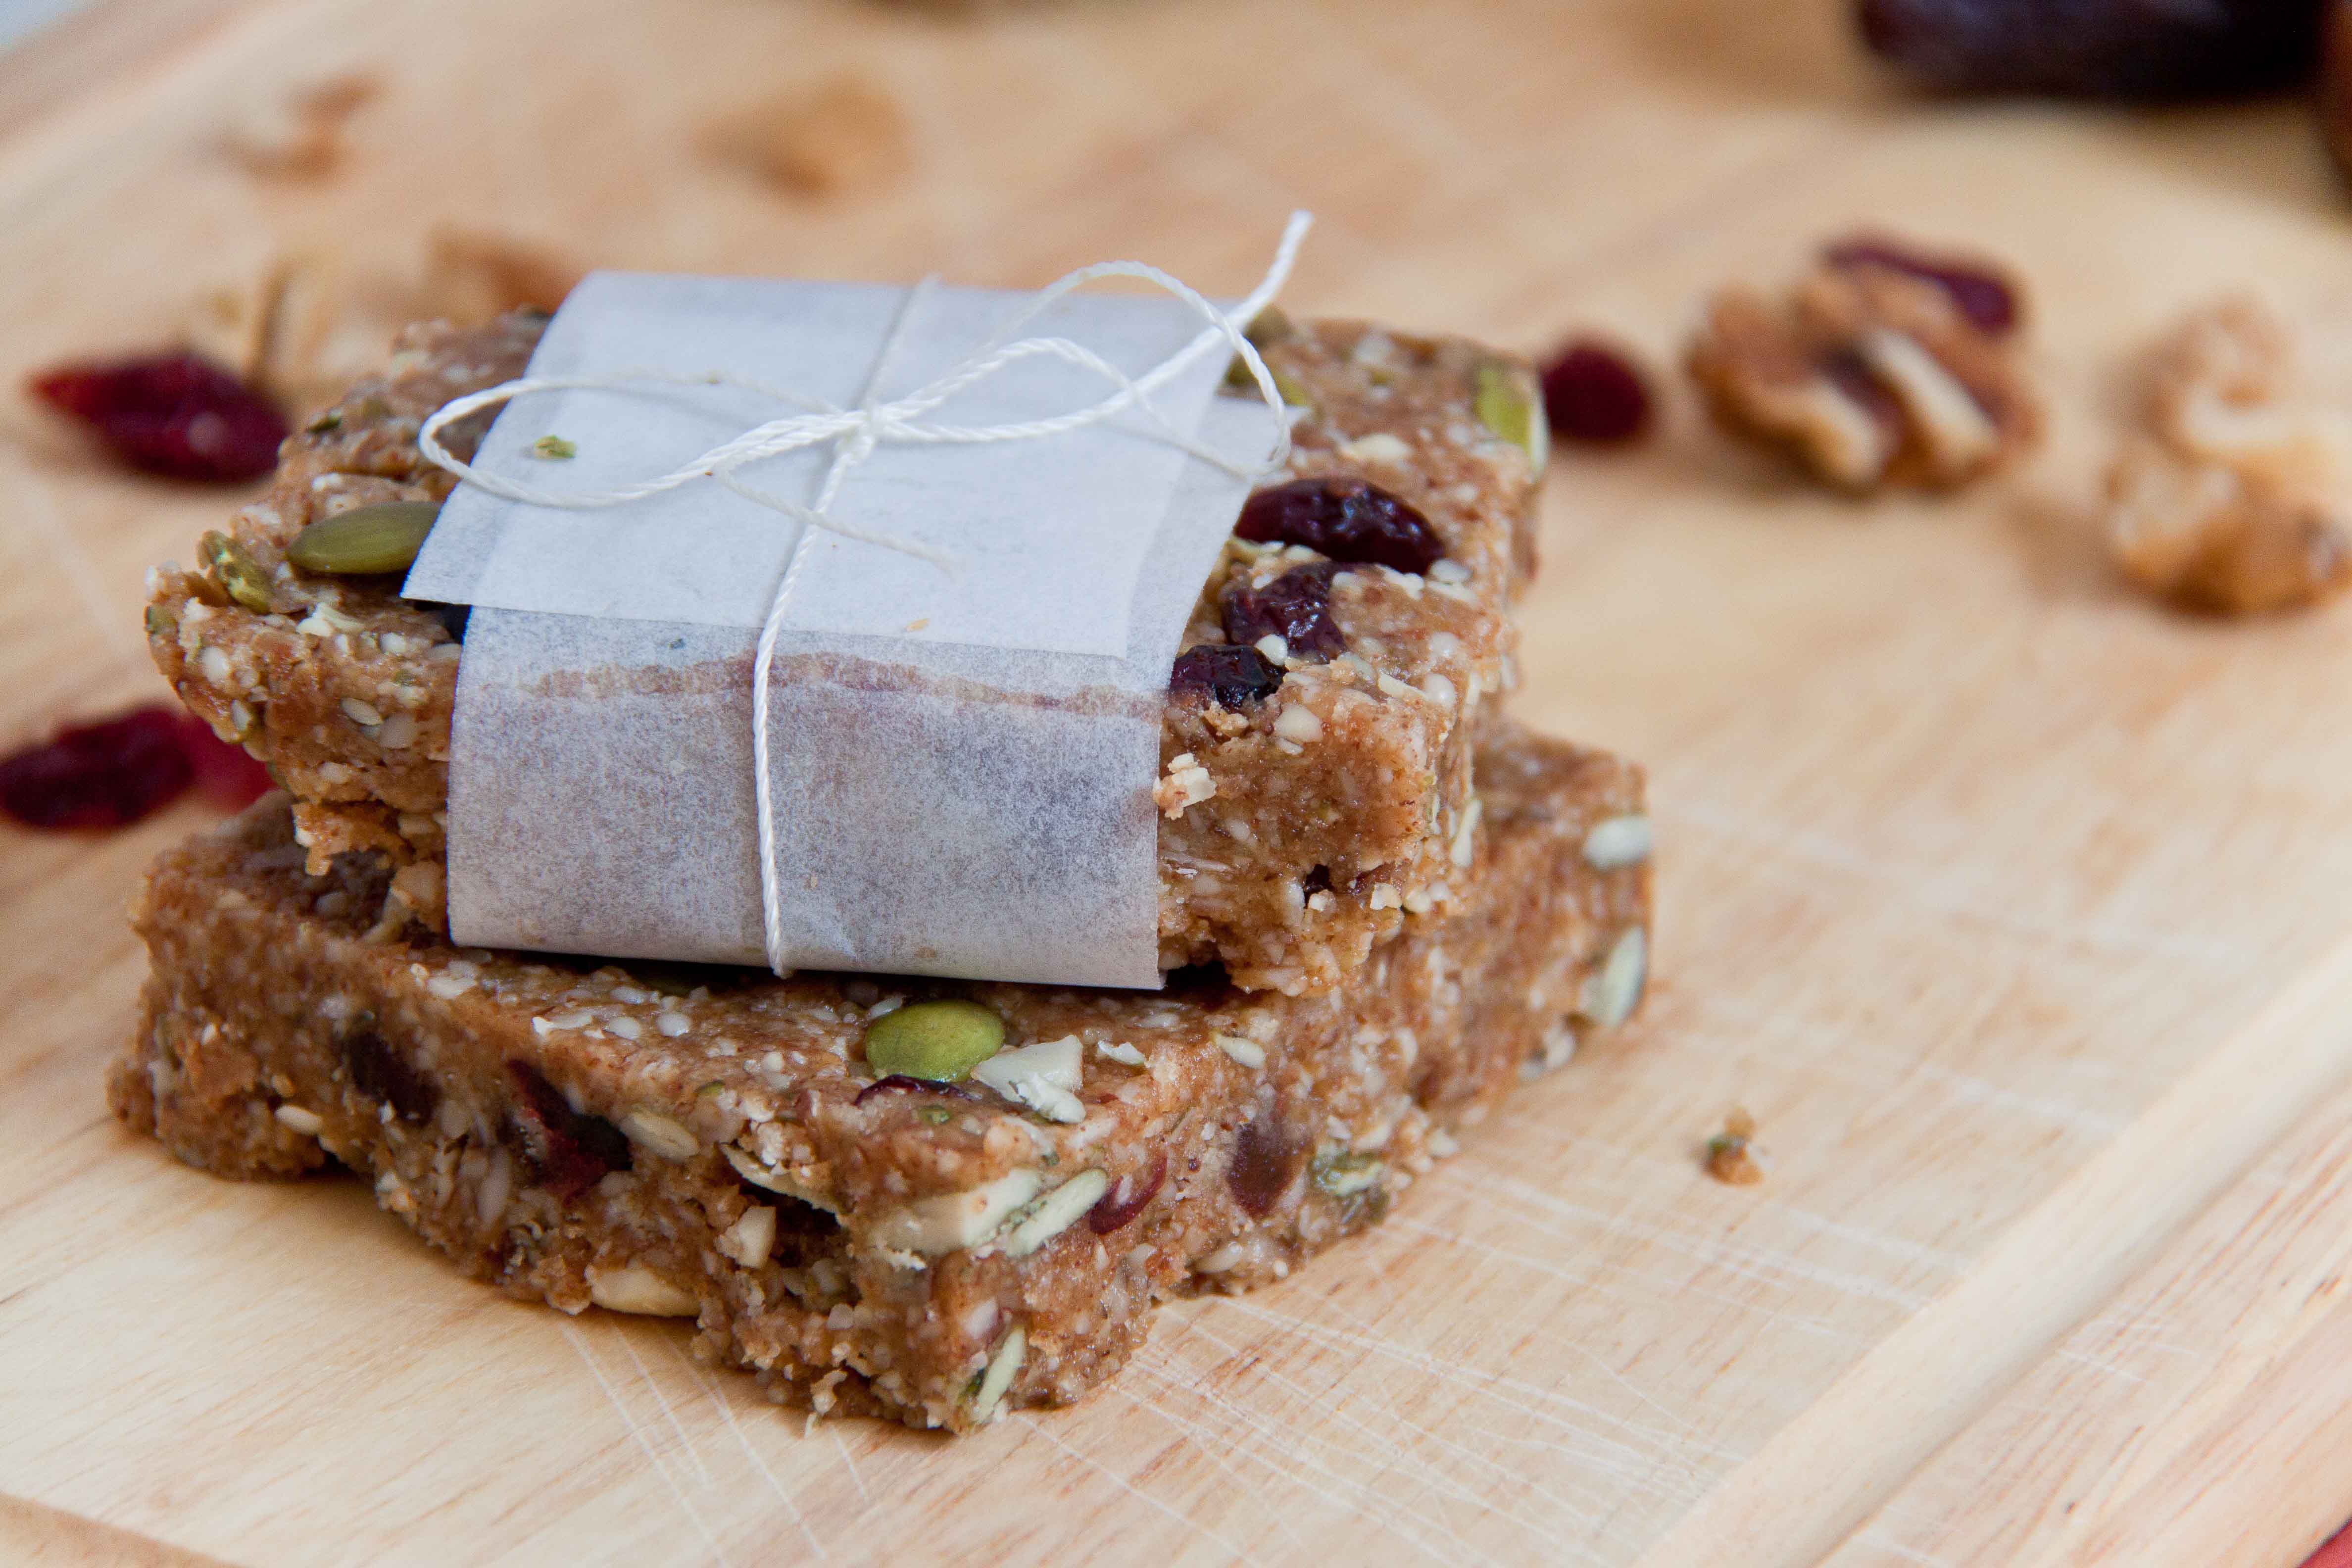
Gluten Free, Grain Free Granola Bars
Why grain free? In our home, we attempt to eat relatively grain-free. We find we don’t need the grains, as we get enough carbohydrates and fiber from fruits and vegetables. Grains can be especially difficult for our bodies to digest, unless they are properly prepared via soaking, sprouting or fermenting. While not necessarily time-consuming, these food-prep procedures do take time (ie: you need to know you want your grains in a day or two so you can leave them out on your counter to soak ahead of time) – not exactly ideal for quick meal preparation. On top of that, grains are converted to sugar once in the body, and can lead to or exasperate blood sugar conditions. Have you ever noticed that when you eat some grains, whether it’s a bowl of cereal, some toast, etc. you find yourself near starving an hour or so later? They’re not exactly satiating.
So instead, these granola bars focus on using nuts and seeds for the bulk, providing proteins and fats to make a more satisfying snack. This means you can make a big batch, and cut it into small individual bars; they’ll still be filling and will easily stretch out over the week – BONUS! Now, there is sugar in these bars, but it’s natural sugar, as in raw honey (no refined white or brown sugar is hiding in these ingredients). If sugar is a concern for you, you can try omitting the honey.
My loyal taste tester Erik said that he could eat entire tray of these bars! (Not something I recommend doing in one sitting btw ). So with Erik’s seal of approval, these tasty, satisfying grain-free granola bars will definitely become a staple healthy snack in our house.
- ¼ cup raw honey
- ½ cup raw, unsweetened almond butter (or nut butter of choice – bonus points if you make your own nut butters!)
- 2 Tbsp coconut oil
- 1 tsp natural vanilla
- ½ cup raw almonds
- ½ cup raw walnuts
- ½ cup raw cashews
- ½ cup raw pecans
- 5 medjool dates, pits removed
- ¼ cup pepitas (raw pumpkin seeds)
- ¼ cup dried, unsweetened cranberries
- ¼ cup hemp hearts
- ¼ cup shredded unsweetened coconut
- Line a 9x13 baking pan with parchment paper and set aside. Tip: make sure the parchment paper is large enough so that when the mixture is added, edges of the paper stick up. You can use the paper to grab and lift the bar out of the pan.
- In a saucepan over medium heat combine raw honey, almond butter, coconut oil and vanilla. Bring to a soft rolling boil, stirring to combine and to ensure that it doesn’t burn.
- Soak the dates in warm to hot water for about 10 minutes.
- In a food processor, blender or chopper, blend/grind/chop nuts until they are a coarse consistency. It’s ok to have some larger pieces of nuts left in the mix.
- Remove dates from water, and add softened dates to the nut mixture, pulsing to combine (I don’t have a food processor and this didn’t work well for me in the blender, so I just mixed the dates in by hand, and since they were soft enough, they combines really easily.) Transfer to a large mixing bowl.
- Add the pepitas, cranberries, help hearts and coconut to the nut and date mixture, stirring to get everything mixed together really well.
- Add the honey/nut butter mixture that’s been simmering on the stove to the nut mixture and stir to combine with a wooden spoon.
- Pour the granola bar mixture into the parchment paper lined pan, and using your fingers, press the mixture out evenly in the dish.
- Put in the freezer to cool for about 2 hours. Once cold, remove from the pan using the parchment paper to lift the bars out of the dish, and then with a sharp knife cut into bars.
- Store the bars in a sealed container in the fridge.